Raspberry Pi, overlayfs read-write root, read-only NFS base

Introduction
My recent projects and write-ups (linked below) have involved Network (PXE) Booting a Pi and loading the root file-system from NFS.
It works well but any files operations are quite slow, and generally numerous file writes can occur when using apps. Additionally I don't want temp file or accidental changes occurring on the NFS root unless specifically desired (ie updating an image), but simply booting in read only mode often causes errors, most are recoverable, but its not elegant.
As a result the final step in this project series is to use some sort of ramdisk-based copy-on-write file-system. There are a number of options, however overlayfs is generally supported 'out of the box'.
This allows for a read-write root filesystem where base reads come from NFS and any writes or overwrites are just stored in ram for the lifetime of the system.
This project builds on Network Booting a Raspberry Pi 3 from an Ubuntu Server, making such a setup (or similar) a prerequisite, and it works with
Raspberry Pi 2/3: Chromium in Kiosk mode).
This guide is based on the article - Solve raspbian SD card corruption issues with read-only mounted root partition.
There are a few other guides and scripts that provided inspiration too:
- Setting up overlayFS on Raspberry Pi
- rpi-utils
- sbonfert/root-ro and kidapu/root-ro - I tested these and they work fine without NFS (ie on the SD card) but not with NFS
Steps
In this set of steps we will use a blank Raspbian install to create an initramfs image and the configure the network boot setup.
Step 1: Raspbian Lite SD Card
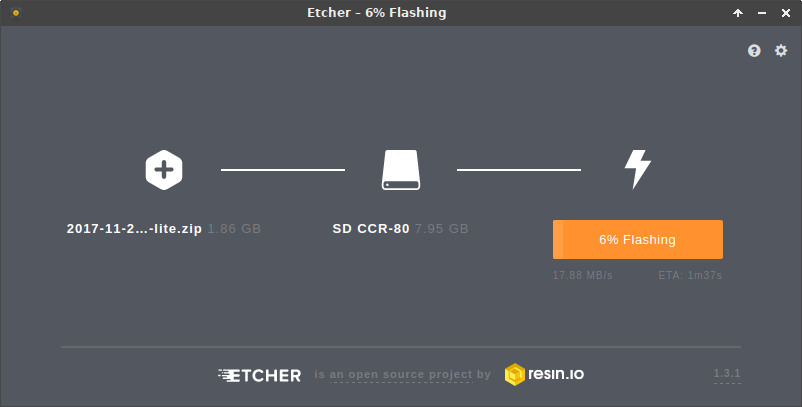
Download the Raspbian Lite Image from here.
Flash to a Micro SD card, the easiest way is to use Etcher (it will even take a zip directly and also verifies the content after).
Step 2: Boot the Raspberry Pi from the new SD Card
Note: This will need a screen, keyboard, and Ethernet cable (with internet access) connected.
Once the Pi boots login with the default credentials (pi / raspberry).
Step3: Enable SSH (Optional)
Run sudo raspi-config, selection Option 5 (Interfacing Options), P2 (SSH) and select Yes to Enable SSH.
You can then quit this utility and continue the following steps via SSH if preferred, or continue locally.
The IP is printed on boot but can also be viewed by running ip addr.
Step 4: Update Debian
First, run sudo apt-get update to ensure all package index files are up-to-date.
Then, run sudo apt-get upgrade to install the newest versions of all packages currently installed.
Then, run sudo apt-get dist-upgrade which intelligently handles changing dependencies with new versions of packages.
In both cases when requested, check and confirm you are happy with the changes proposed.
Step 5: Update the Pi (firmware)
Note: This step may not be required, but as I have done it for the network booted Pis I have done it here too.
Certain files from the next branch of the rpi-firmware repository are required for this process to work.
Run sudo BRANCH=next rpi-update.
Details on rpi-update can be found here https://github.com/Hexxeh/rpi-update.
Edit (2018-07-14): Warning, the next branch appears to be out of date now, updating from master (the default) works fine for 3B+.
It is likely to complete by saying:
*** A reboot is needed to activate the new firmware
So, reboot now with sudo reboot.
Step 6: Create an initramfs image
Unfortunately I'm not entirely sure why this is needed, I started with the root-ro gist based guides linked above which required customising the initramfs image, so in the process of writing it all up and trying to back out "unnecessary" steps I found that without this and the custom init script you get a kernel panic.
On the Pi run the following:
sudo mkinitramfs -o /boot/initrd
Step 7: SCP to the NFS Server
The initrd image needs to be available over TFTP for the network boot process.
On the Pi, scp initrd off:
scp /boot/initrd paul@nas:initrd
On the NFS Server, move the file the right place and ensure the permissions are consistent:
sudo mv ~/initrd /tftpboot/initrd
sudo chown root:root /tftpboot
We are now done with the Pi SD Card (unless you want to try this locally as described in the notes below).
Step 8: ro-root.sh
Next, download or copy the script below to your NFS OS root, eg:
curl https://gist.githubusercontent.com/paul-ridgway/d39cbb30530442dca416734c3ee70162/raw/c490df8be1976dd062a8b5f429ef42ed1b393ecb/ro-root.sh -o /nfs/client1/bin/ro-root.sh
And then, ensure it is executable:
chmod +x /nfs/client1/bin/ro-root.sh
If desired, we can check on the network booted Pi that the file exists:
pi@pi3-1:~ $ ls -alh /bin/ro-root.sh
-rwxr-xr-x 1 root root 4.6K Mar 24 17:16 /bin/ro-root.sh
Step 9: Load initramfs
On the TFTP Server, edit /tftpboot/config.txt, adding:
initramfs initrd followkernel
ramfsfile=initrd
ramfsaddr=-1
At this point you can reboot the network booted Pi and it should start as before, but the TFTP logs should show the Pi fetching initrd.
Step 11: Switch out init
Edit /tftpboot/cmdline.txt on the TFTP Server, adding init=/bin/ro-root.sh:
selinux=0 dwc_otg.lpm_enable=0 console=serial0,115200 console=tty1 rootwait rw nfsroot=192.168.1.50:/nfs/client1,v3 ip=dhcp root=/dev/nfs elevator=deadline init=/bin/ro-root.sh
Now, when booted, the Pi should execute our script, and all being well load create the overlay file-system.
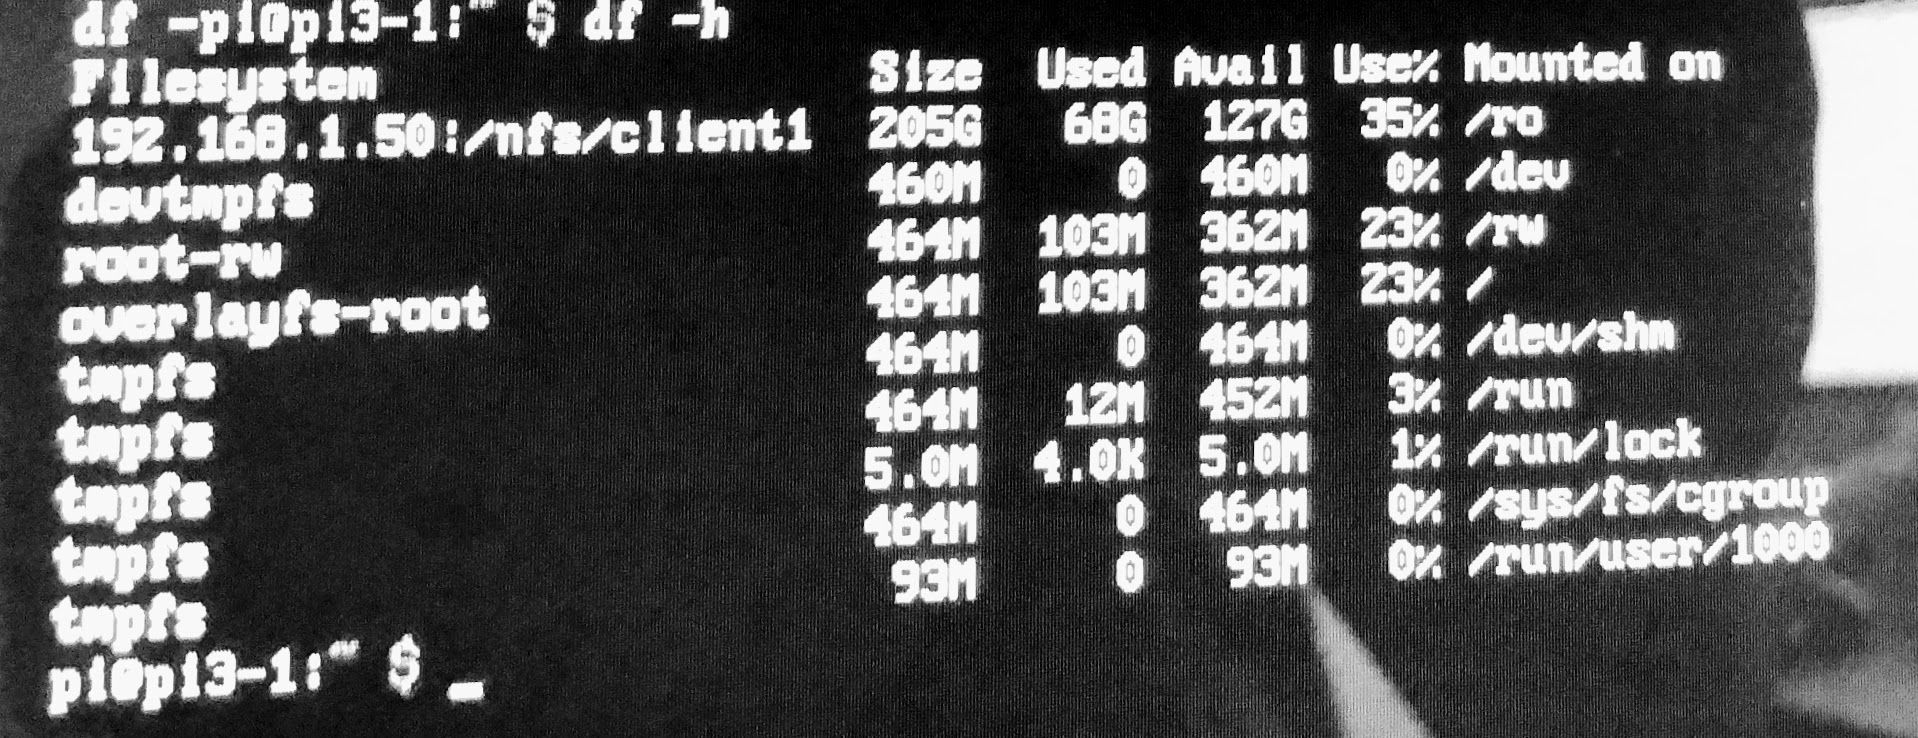
If it starts successfully:
I have found some of the umount commands fail (the errors show in the logs), you can try with the -l and -f switches but its not a big issue.
Finally, we can make the root read-only to be safe, change rw to ro in /tftpboot/cmdline.txt:
selinux=0 dwc_otg.lpm_enable=0 console=serial0,115200 console=tty1 rootwait ro nfsroot=192.168.1.50:/nfs/client1,v3 ip=dhcp root=/dev/nfs elevator=deadline init=/bin/ro-root.sh
To make any image changes either change ro to rw and remove the init directive, or re-clone a device using rsync as described in my other article.
A few notes
Some notes have been pulled out into mini-guides:
Reboot Cron
While the Pi has run overnight with Chromium in Kiosk mode fine, I suspect it will slowly consume RAM, so a nightly reboot cron under the root user might be wise.